
If you have two pieces, with a horizontal seam, the pieces want to collapse onto each other if there's nothing to overcome gravity, like straps for example. I spent a whole day making various versions of my 2 piece cup (6 in total) to make sure that there would be no gaping at the top edge, and that any excess space through the centre of the cup was minimal. When made up in foam however, it seemed kind of pointy, and when making the bra, I got to my final fitting before putting the elastic in and realised that the cups would not hold me up without help. With a 3 piece cup however, you have more shaping in the bottom half, and the Upper cup rests on the lower cup, so the whole thing holds it shape and doesn't collapse. Simple really.
 |
| Comparison of 2 piece (top) and 3 piece (bottom) bra cups |
The deal breaker on the long-line-strapless-bra though, was what I discovered after I took the bra off after my final fitting. The powernet was unusable. Where I had pinned it, the powernet was breaking down, and you could see every place that I had stretched it getting the bra on and off. It took me a few minutes to remember that I hadn't bought it at a shop, but at fabric-a-brac earlier this year. I have no recourse to a shop, and no way of knowing how old this actually is, but I'm guessing really, really old. The power portion of my powernet had come to the end of it's life already, without ever being used. I was devastated! I'll just write off the cost of that powernet, shall I?
 |
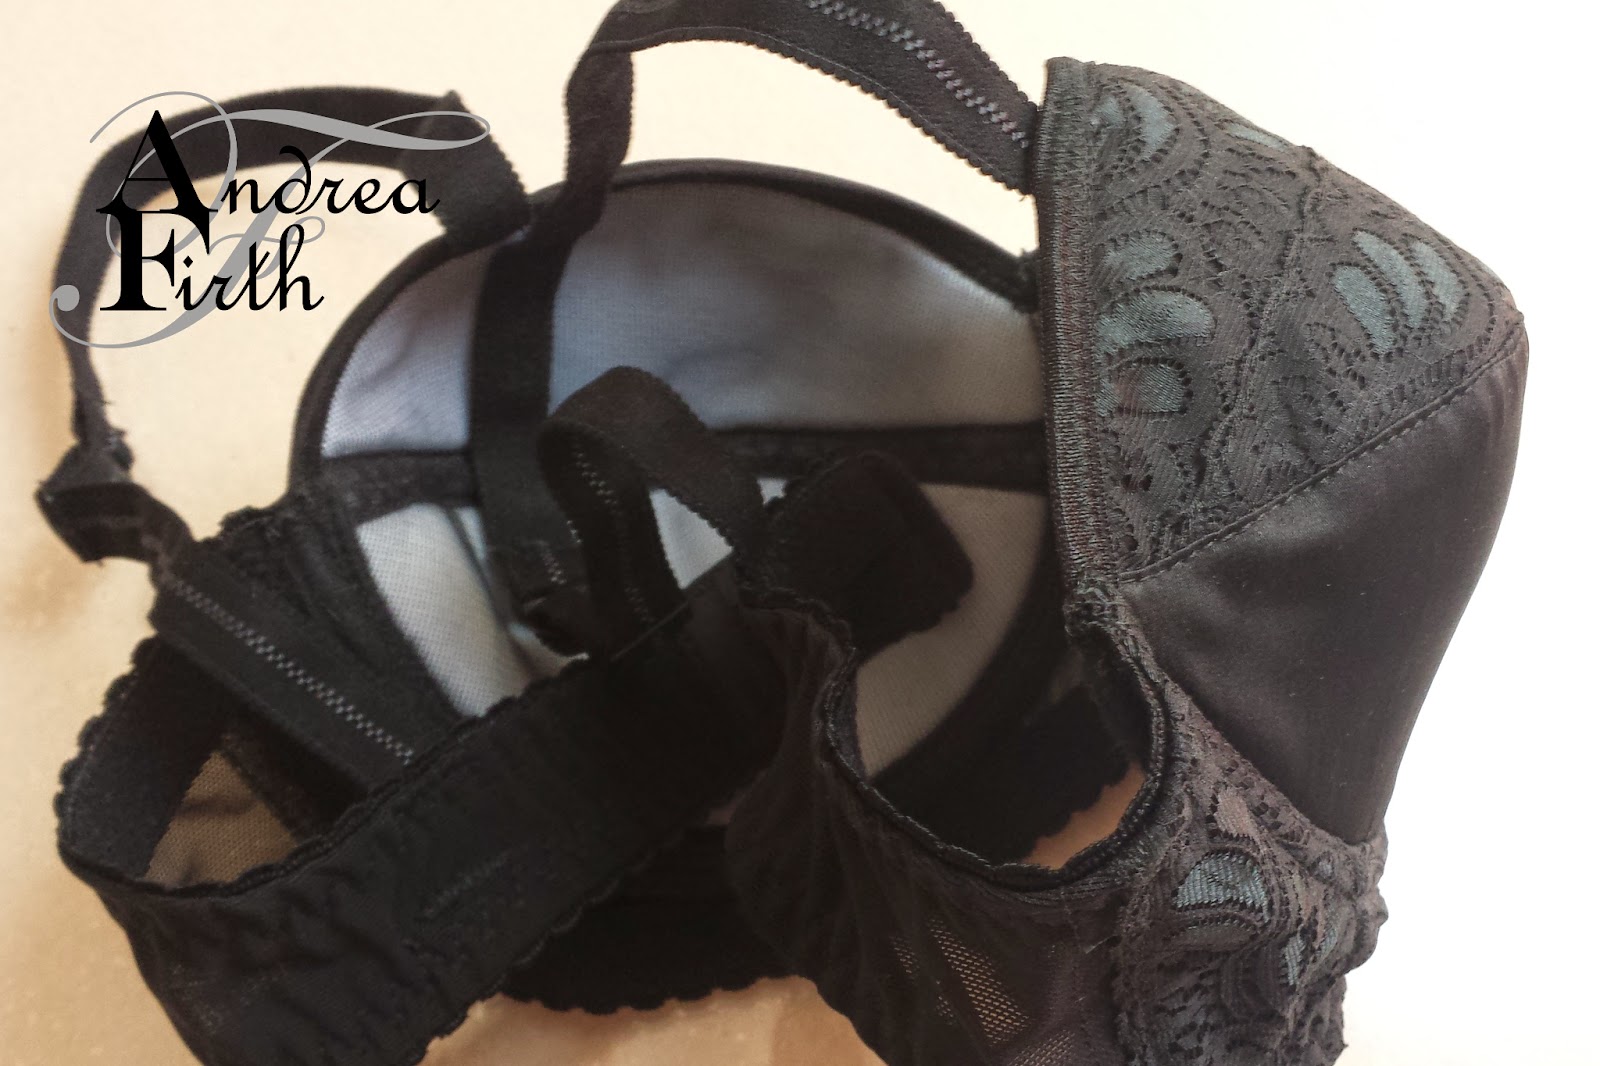
| The powernet after trying on my bra (before I cut it down) |

Not wanting to take any more chances with this, I cut it down to a regular length, used normal instead of grip elastic on the band, and added permanent straps.

Costing:
(A lot of the costs for this bra were from a supplier the did not provide me with a breakdown of individual costs, so most are estimates based on what I thought I paid for each)
Interfacing, silk, lace and powernet - stash / gifted to me
$0.64 Bra wadding
$0.58 Tricot
$0.66 Underwires
$1.20 Underwire casing
$0.07 Fold Over Elastic
$1.47 Elastic
$0.68 Strap elastic
$0.56 Rings and sliders
$2.00 Back closure
$0.54 Thread (rough estimate)
Grand Total $8.40
Onto problem #2 The fit of the bra cup. Despite my 6 versions of this cup (or perhaps because of), it is a little tight across the top edge, and kind of squishes me together a little. This problem was probably also made worse by the addition of fold over elastic that I used across the top of the cups. They're also a bit pointy. Most of this problem dissipates as you wear it, as your body sort of relaxes into it and the bra moulds a bit more to fit, but it is still an issue, and I won't be using this exact version of the pattern again.
Problem #3 Width of the elastic around the band. This elastic is a lot wider than the white elastic that I have been using up til now. I really like the look of the 3 step zig zag on band elastic, so didn't want to attach it another way unless I had to. The zig zag doesn't get any wider than this on my machine. I tried to centre the zig zag on the elastic, so it looked right from the outside, but unfortunately from the inside that left a good 6mm of elastic that was left free. In theory, not really an issue, but as I made the band a little longer (maybe 1cm or so), the top edge of the elastic wasn't caught under the underwire casing either. The result is that the elastic wants to sit flat against my skin, and edges up as high as it can go. This in turn causes the underwire to not sit exactly in place, and it starts riding up too! Again, not that big an issue, but something to keep in mind for future makes: make sure the elastic is caught into the underwire casing.
Where does this leave me in terms of the long line strapless bra that I wanted to make? I do have enough black powernet left to try it out, and will stabliise that section a little with a complete stretch lace overlay. Not sure how it will go without elastic right under the cups, but it will be another experiment, as each of my bras have been, and if that one doesn't work, I can change out the hooks and eyes for a regular bra back and have a normal length strapless bra!
VNH Naidu Hall has an impressive range of black lingerie, offering both elegance and sophistication. Their collection features a variety of styles, from delicate lace to sleek, minimalistic designs. Made with high-quality materials, the lingerie ensures comfort without compromising on style. Whether you're looking for something seductive or chic, VNH Naidu Hall has the perfect piece for every occasion. It's the ideal place to find luxurious black lingerie that makes you feel confident and beautiful. Get detailed info at https://vnhnaiduhall.com/collections/black-lingerie
ReplyDelete