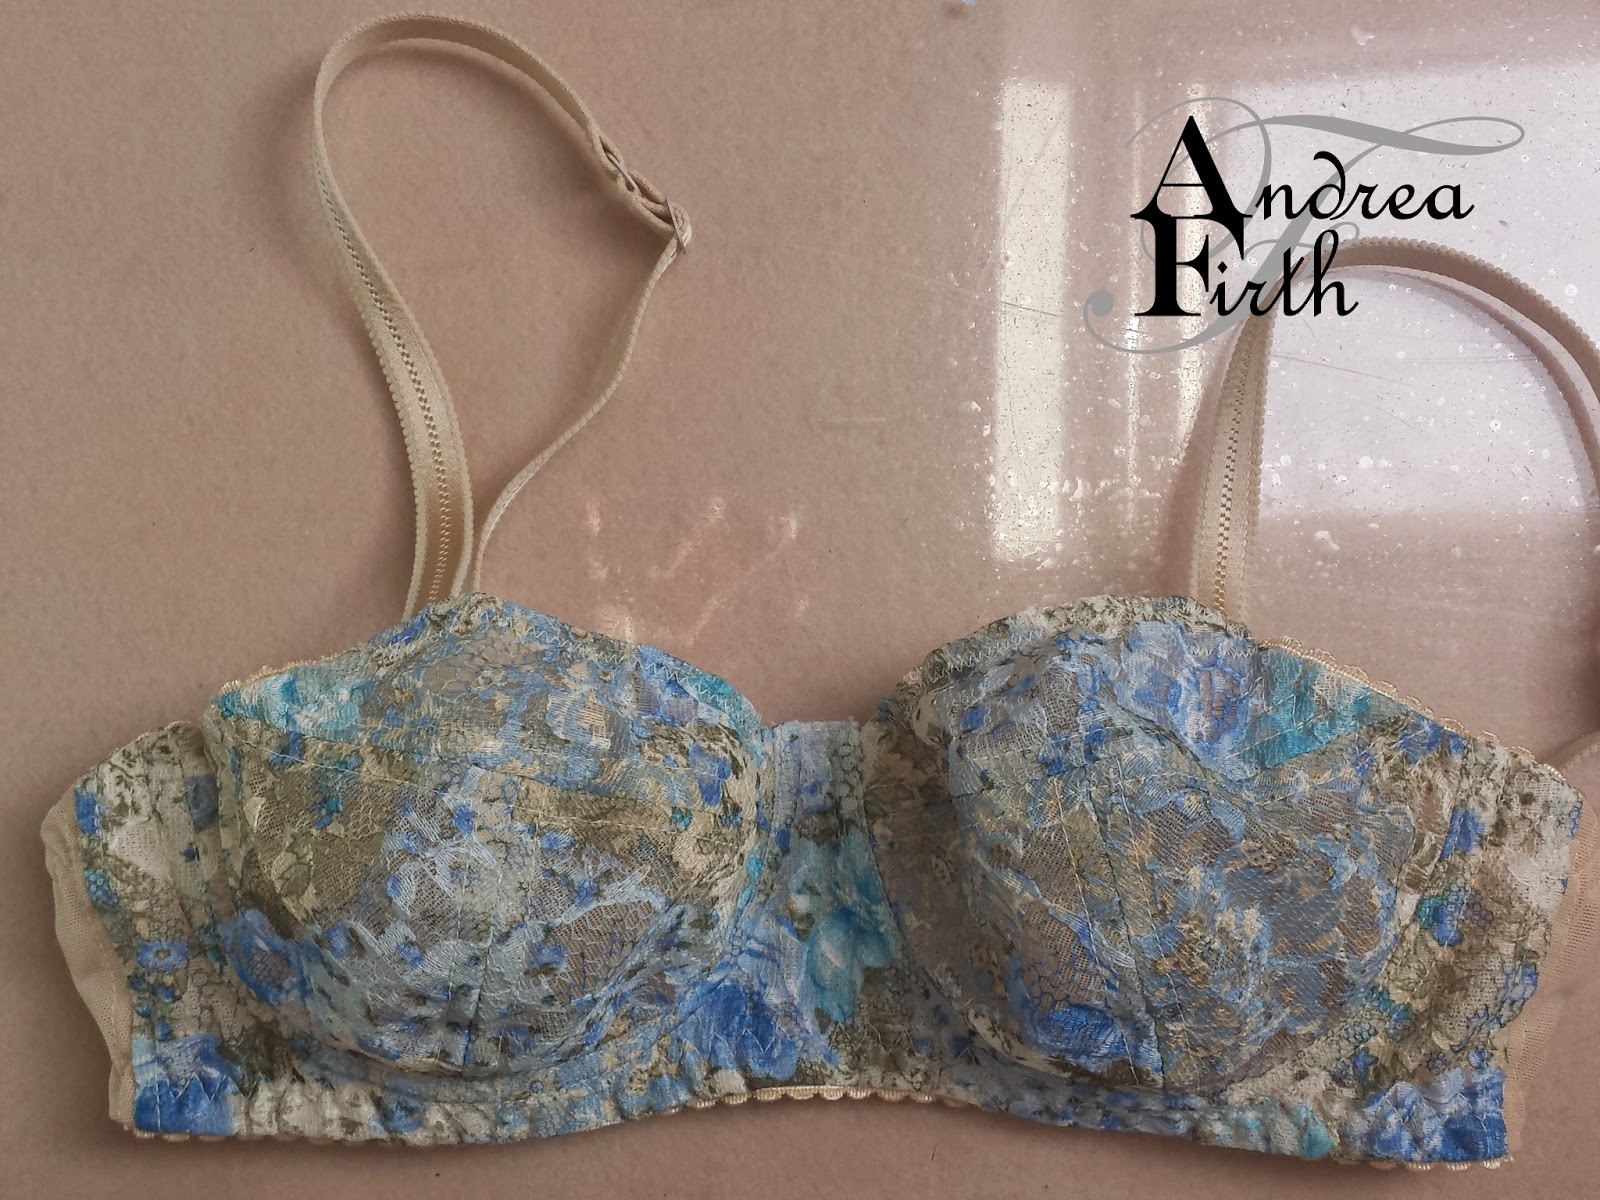

The lace is a recent stash addition, bought just a few weeks ago in the Blue Mountains. The lace was pleated, so I only bought 20cm, as I wasn't sure if it was going to work, and I only needed enough for a bra anyway! After making some adjustments to the pattern for the bra cup (just a few tweaks to the style lines), my first order of business was to try and iron the pleats out of the lace! I lay some brown paper down on my ironing board, put the lace on top, and sprayed another piece of brown paper with vinegar, before turning it vinegar side down, and pressing with steam. I repeated this a few times over the same spots. You can still see creases where the pleats were, but it worked well enough to use.
 |
| Removing the pleats |
 |
| With pleats (above), and without (below) |

I also accidentally got to try out something else that I wanted to have a go at - cutting down my underwires. The ones that I'm using are actually quite long, and come up pretty high both at the front and under the arm, at least compared to some of my RTW bras. The cream elastic that I used is a lot wider than my usual white elastic. It's 15mm wide, about the same as the elastic I used in my first black bra. I forgot to add some extra width into the side of the bra cups to account for this, and then when I was sewing the elastic on the side, I thought it wouldn't hurt to round off a corner as I sewed it down. When I went to put the underwires in however, this is what happened.
 |
| Before |
 |
| After |

And another point regarding the elastic. It's about the same width as the elastic I used on my first black bra, which I had issues with when I sewed that in. I was trying to centre my 3 step zig zag on the elastic when I sewed it down, and it doesn't sit right. I made sure that on this one the 3 step zig zag is on the edge of the elastic, and that the underwire casing is sewn down over the edge. It all sits much better on this bra!

Costing:
Interfacing - stash / gifted to me
$0.67 Lace
$0.24 Tricot
$0.30 Powernet
$0.66 Underwires
$1.20 Underwire casing
$1.47 Elastic
$0.72 Strap elastic
$0.56 Rings and sliders
$0.27 Clear Elastic
$2.00 Back closure
$0.54 Thread (rough estimate)
Grand Total $8.62
I realised that I had been incorrectly calculating how much tricot I was using, so all my previous bras actually cost less to make than I realised! I'm not going to go back and fix them though, it's only a matter of about 50 cents each.
The fit. Despite cutting the powernet exactly the same length as the other bras that I have made, it feels a little tight. I know it will loosen up as time goes on, but next time I use this particular powernet, I'll know to add a bit more length in the back. The only other fit issue is at the top of the cups. I added 6mm wide clear elastic to the top of the cups, stretching just a little as I sewed them in. They are actually digging into my skin where the elastic is. I'm not sure if it's due to the elastic stretching, or whether I made the top of the cups a little too tight when I made some alterations to the upper cup. I might go back a step and reverse the last little alteration I did to this pattern for the next one. (And yes, I do know exactly what I'm doing for the next bra! I can't help it, I'm obsessed!)
These little issues aside, I absolutely love this lace, and love this bra.
Hello, an amazing Information dude. Thanks for sharing this nice information with us. Lace Bra
ReplyDeleteThis lingerie set is stunning! The cream and blue lace combination is both elegant and playful. Perfect for adding a touch of luxury to everyday wear. Have a look at the beautiful maternity lace bras at Lovemere. Great work!
ReplyDelete