Pattern Drafting Overview
Before I get to the bra itself, let's talk about the drafting of this pattern. The instructions are pretty straightforward, and anyone with a ruler, pencil and paper (and an underwire that fits them) should be able to draw up the pattern.
To ensure that you have the right size underwire, it is suggested to take a breast root trace using a flexible ruler. I have been using the same underwires for a while now with great success, so was interested to see how they sized up. As you can see from my photo, my breast root trace and underwire match up with the picture perfectly. I must say it feels good to see justification of the wires that I'm using.

The cradle pattern is drafted using your underwire. When I had this finished, I once again traced this off onto card in two pieces, as I have previously done with my blue satin and white lace bra, and compared this to my body until I was happy with how the wires would be placed against my body.
This is such a great method of altering the cradle pattern. If you have issues with the wires not sitting flush at the centre of your bra, I recommend trying this out. Trace out two copies of the halved cradle pattern, allowing extra at the CF. Your aim is to find the perfect width of the bridge, and placement of the wires around the breast root. Swivel each piece around until you have both sides sitting comfortably, then join them together. Done.
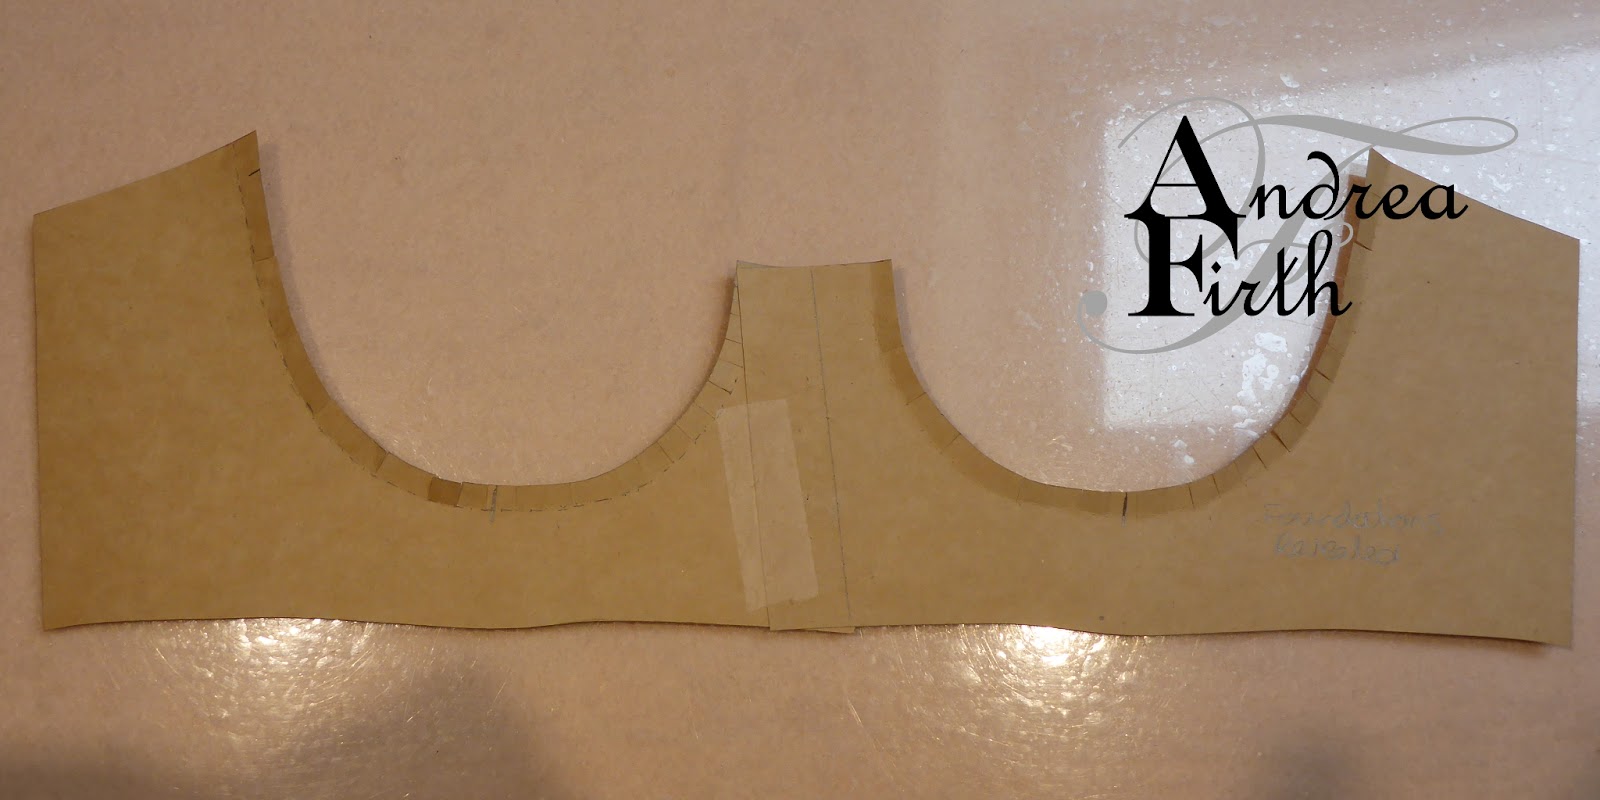
The cup pattern is drafted to a standard size, and then if you need a larger or smaller size, there are instructions for how to grade up or down. My measurements happened to fall into the standard size, so I had no need to grade my cup. Here's my basic cup pattern before I added my seam allowances.

After trying on my toile, I made some adjustments to the dart, extending it above bust point, and widening it below BP. I also moved the strap placement slightly towards CF, redrawing the underarm curve and line across the top of the cup, and took a dart out of the underarm seam. Lastly, I took a small sliver from the cup at CF so that the length of the seam joining the cup to the cradle was the same length.
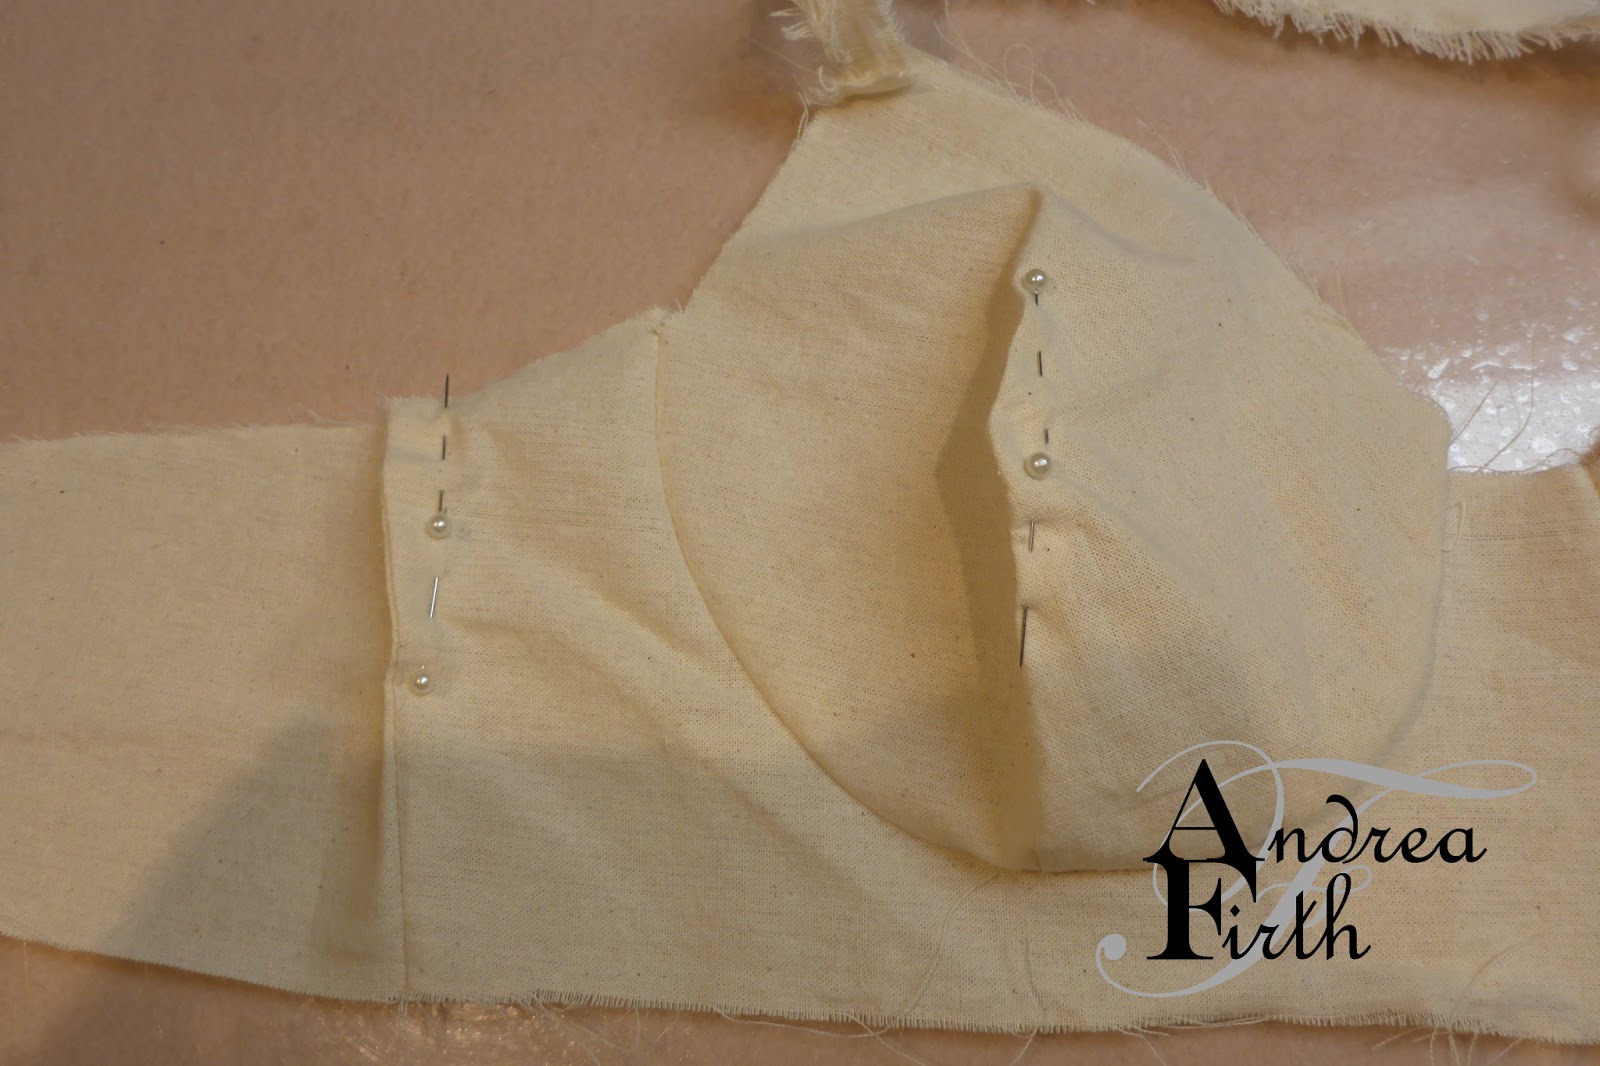 |
| Toile with alterations pinned |

The band pattern is based on your own underbust measurement, but I have found in all patterns that I have drafted that this does not take into account the stretch of the powernet, or the addition on hooks and eyes. So I compared my newly drafted band pattern to existing patterns that I have made, and took the excess from my pattern piece.

The Bra
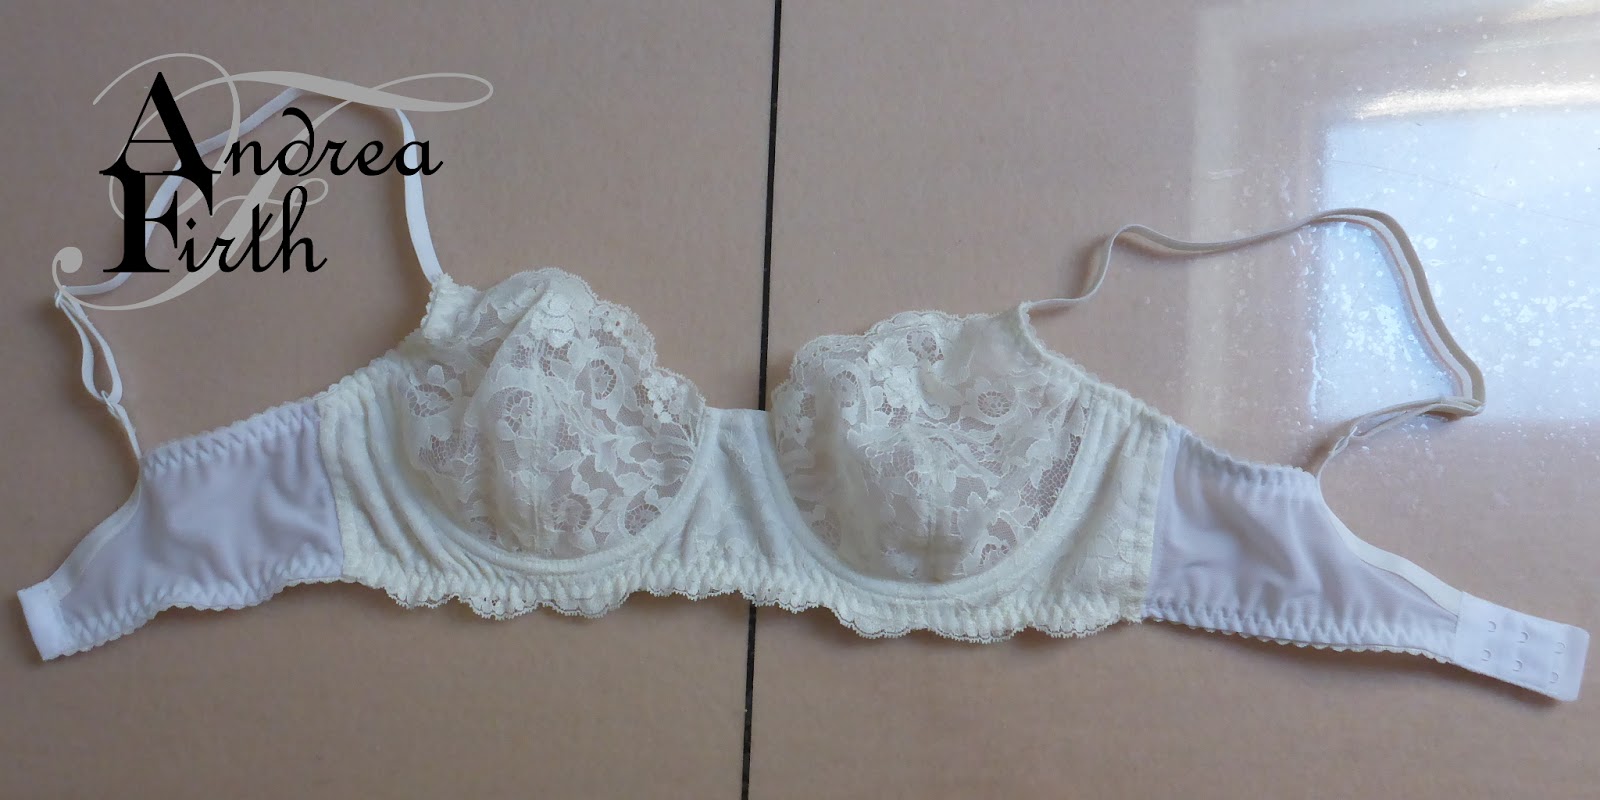
I made my latest creation using cream lace from Reverse Garbage in Sydney, priced at just $2 per metre. It's nice and wide, so I was able to cut the cradle and cups from it, all lined in white tricot. Everything else in this bra is from my stash of white findings.

It was only after I had ironed interfacing to my cradle that I noticed I had ironed it to the right side instead of the wrong side of the lace. Rather than waste this lace, I kept going, being sure to sew the cups wrong side out instead of right side out, so it all matched up. (Apart from everyone reading this post,) who will ever know that the lace is round the wrong way anyway?


Costing
$0.11 Interfacing
$1.80 Cream Lace
$0.20 Tricot
$0.27 Powernet
$0.66 Underwires
$0.81 Underwire casing
$0.73 Elastic
stash Strap elastic
$0.33 Rings and Sliders
$1.54 Hook and eye closure
$0.54 Thread (rough estimate)
$6.99 Grand Total

Fit
I was actually really impressed with the fit of this pattern. With only one dart to provide shape in the cups, I was a little worried that I wouldn't get a good fit, but I was pleasantly surprised when I wore it. Honestly, the only change I would make is to lower the top of the bra cups by about half a centimetre, as by mid afternoon, the spot where the straps attach to the left cup rubs my skin raw from the movement of my arm.
I don't think I'd be wanting to try out this pattern with bra wadding in it, but am tempted to make another one as is, with the same lace but right side out this time.
I don't think I'd be wanting to try out this pattern with bra wadding in it, but am tempted to make another one as is, with the same lace but right side out this time.
This is lovely. Where on earth do you find such well priced findings? (Another aussie here)
ReplyDeleteThank you Tigergirl. My pricing is probably a bit misleading. I've bought a lot of supplies in bulk from local Sydney wholesalers, so although the per bra cost is small, I've spent hundreds on supplies.
DeleteVery pretty bra and very interesting about the draft process. More to think about that is for sure.
ReplyDeleteThanks Sharon. This might be a more successful one for you to try drafting. Have you had a go making up a bra from the pattern that you made last year?
DeleteVery significant Information for us, I have think the representation of this Information is actually superb one. This is my first visit to your site. Black suspenders
ReplyDelete