
To give you some more inspiration for your lingerie sewing, I wanted to share how easy it is to dye your bra making components different colours. I've taken to buying white bra / lingerie making supplies in bulk, and bought some dye about 18 months ago to dye them different colours.

The brand that I bought is called Ozepol from Starr Lace, and is designed for dyeing smaller amounts of synthetic materials, polyester and plastics. Apart from it's ability to dye most of the components of bra making, I liked the small bottle sizes available (48ml), and the fact that you can make up the dye 1 cup at a time (made up as directed, each cup of dye uses approx 6ml of concentrate.)
I initially bought Antique Gold and Blue, and have already made a few bras with these dyed supplies. See more on these below. Before Christmas I bought some more of their colour range, and have been playing around with the dyes to see what sort of colours I will get from them.
In the first photo, the colours from left to right, are:
Blue, Antique Gold, (to the left from the first batch that I dyed, and to the right the second batch, with the original dye and additional dye concentrate), Black and Red.
I knew from experience with the first two colours that with the materials that I am dyeing, they come out more as pastel colours than a really saturated colour. The next colours that I tried were the red and black, and I didn't have high hopes for deep colours, but wasn't really expecting this. What I finished with was more like a dusty blue / grey, and dusty pink. I added extra of each dye to the water, but still did not end up with a intense colour.


So, how do these dyes fare over time?
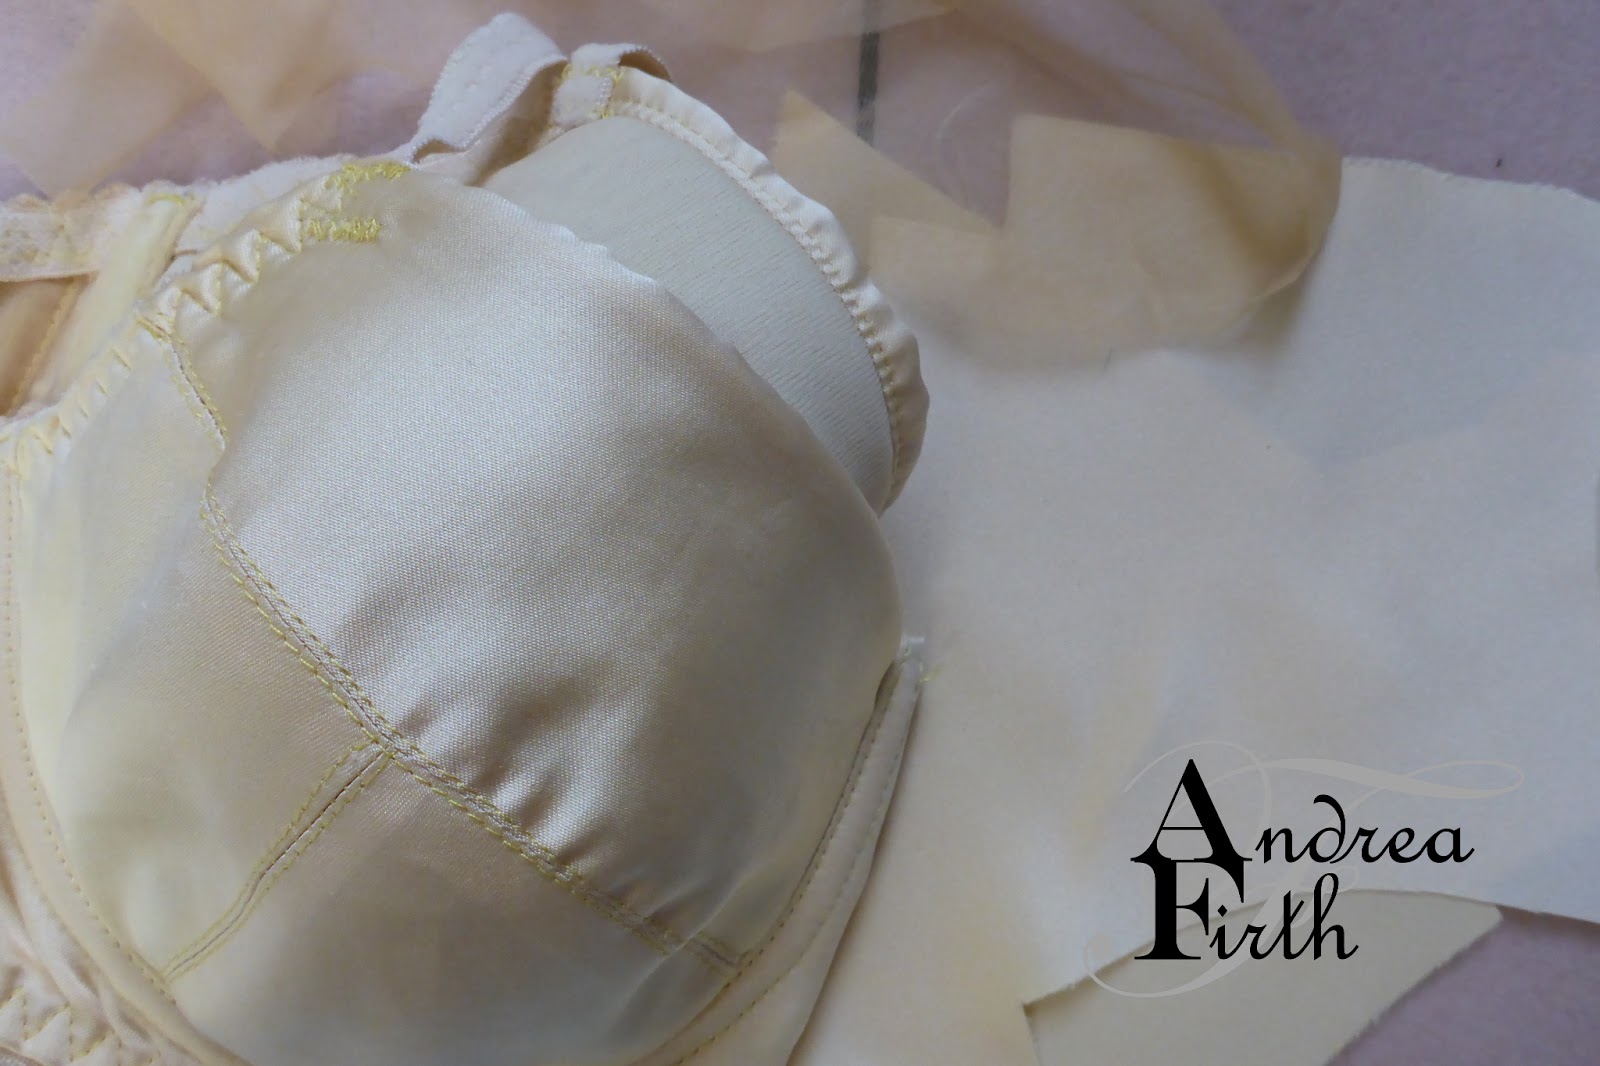
Above are the two bras that I ave previously made from my dyed bra making supplies. The top one is with the Antique Gold. I dyed every part of the bra, including the bra wadding. You can see against the leftovers that over time very little of the colour has been lost. The tricot has faded the most, but everything else is much the same as when I first dyed it.
Similarly with the blue. It hasn't been worn as much, but the lace and satin look exactly the same, with no fading evident

If you don't mind what the end result is, these dyes are great for small quantities. I would love to invest in some dyes that have a darker result, but need to do more research into what will work best for my needs, and should also use up what I have first.
Amy from Cloth Habit has a video post to help you choose the right dye for the job. She also lists different acid dyes and where to buy them, so check out her post if you would like to find some dye for yourself.
What dyes have you found successful for synthetics? Feel free to share in the comments.
These are so pretty. I haven't tried dyeing bra supplies yet, but this looks very do-able.
ReplyDeleteIt is so easy Megan. You should give it a go, let me know how you go!
DeleteVery significant Information for us, I have think the representation of this Information is actually superb one. This is my first visit to your site. Push Up bra
ReplyDeleteGreat post, thanks for sharing! What do you think of these bras?
ReplyDelete