I only wish I had taken more notice of how the braid was sewn into the hems, and, you know, taken photos and stuff? I thought I remembered how they were done, but wasn't 100% sure, so turned to my friend Google to find an answer. Alas, the only instructions I could find either featured hand stitching the braid to the outer layer of the dress, or sewing the hem to the very edge of the braid (similar to how you would use ban-rol, without pulling it out), and either topstitching it down, or use handstitching at the top. Neither of these was the solution I was looking for.

I wanted to enclose the braid in the hem, with the lining sewn closed over the top, with no handsewing to be seen (or done), as per the other wedding dresses that I have altered.
So here's my method for using horsehair braid in the hem of a lined dress.
Step 1.
When you cut out your fabric, cut your main fabric and lining the same length as each other. You will need to allow the width of the horsehair braid for your hem allowance. The lining will be cut shorter later, but in my experience, there will always be a certain amount cut off for every hem, and you want to be able to keep track of the length without having to remember how much you've already cut off!
Step 2.
Mark out where you want the finished line of your hem to be with pins, and on the inside of the skirt, line your braid up below the line of pins. Pin this in place, and trim off the excess fabric, making sure you keep your offcuts to match up with your lining later.

Step 3.
Stitch the outer edge of the braid to the hem, a little narrower than your desired seam allowance. I used a 10mm seam allowance for my dress.

Step 4.
Next cut the lining to the correct length. Pin any excess fabric that you cut off in Step 2 onto the corresponding section of the lining. Now you need to do some calculations before cutting.
For my dress, the braid is 28mm wide, with a 10mm seam allowance. The braid will be folded over, so this amount needs to come off, and then you need to allow for 2 x the seam allowance, before taking off what is left from the width of the braid.
So I get 28mm + ((28-10-10) = 8mm), which gives me 36mm to cut off the length of my lining, plus the excess that I cut away previously. I use my metal sewing gauge to mark the length as I cut it, but you may prefer to draw a line in with chalk or even a pencil if you think it won't show.

Step 5.
I left open a section of the back seam to turn the dress through, so make sure you have a way of turning the dress right side out before starting this step, and also make sure you don't end up with a tube, due to the lining being attached at the top of the dress already. (Ask me how I know this!) With right sides together, line up the raw edges of the lining and main fabric, pin together and stitch at the width of your chosen seam allowance. Line up seams where the hem is straight, but if you have curves, such as for a train, you will need to fold back the braid, and mark with a pin where the seam goes, to line the seam in the lining up with that instead. Otherwise, your seams will not align.

Step 6.
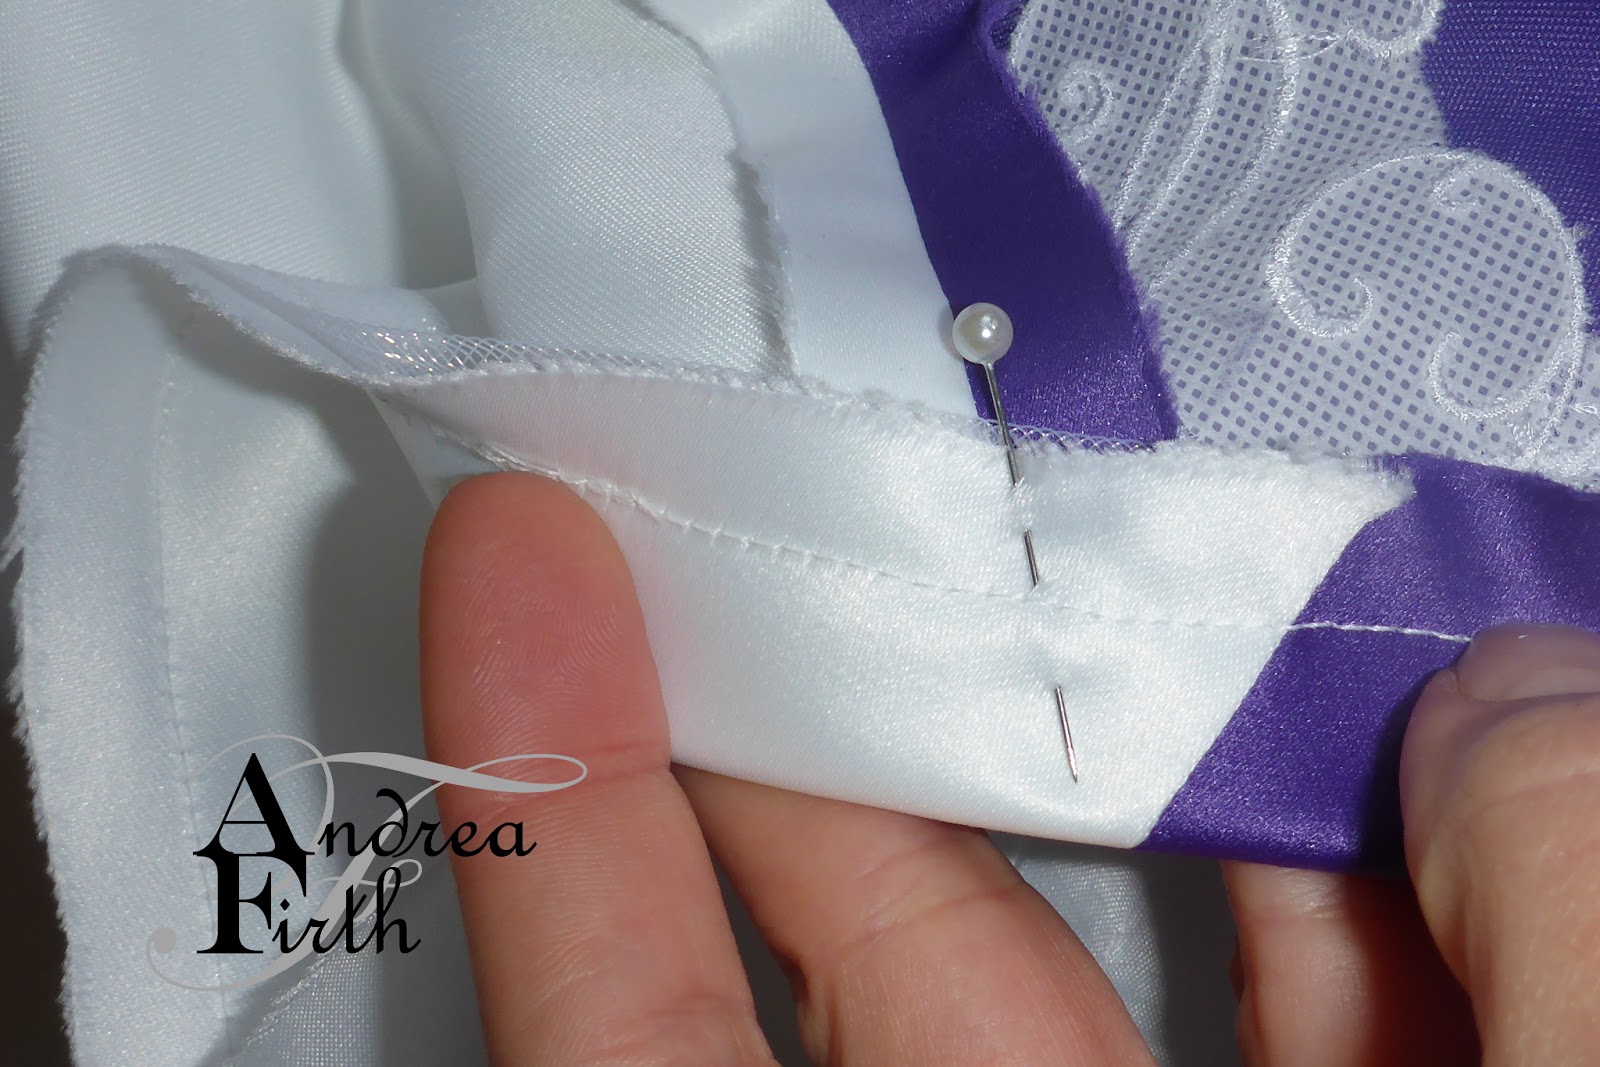
Turn the dress through to the right side. Then, while pushing the braid into the hem, press a firm crease into the hem.

No stitches on the outside, and no hand stitching.
The weight of the skirt will hold the hem in place, and because we have taken all the excess lining away, there is no bagging of lining over the hem, which helps to hold it in place.
Boy I'd give anything to ask you about ending up with a tube from sewing the lining to the satin! I have now done dress I am hemming 3 times and each time, that's exactly what happens...I have a tube and cannot for the life of me figure out what I am doing wrong! I have an opening at center back of the lining and pull through and my brain just can't wrap around how to do this correctly! SMH The dress I'm hemming is for a wedding this month (or next-July anyway) and I promised to have it ready by the end of June. Got myself in WAY over my head here! Only thing I've hemmed prom dresses and other bridesmaid dresses but they had no lineing and were a piece of cake compared to this thing! I would appreciate anything you could lend if you get this comment!
ReplyDelete