OK, so I'm not actually that slow at sewing, I've just had work (i.e. sewing that I actually get paid to do) get in the way. At least I still have two thirds of winter left in which to enjoy wearing it. Not that I have yet. It's turned out a little . . . . shall I say . . . sparkly? I'm sure I'll be the most overdressed mum picking my kids up from school.


So, let's look at some of the features that I put in this jacket:
Catch-stitching all seams to underlining

With all the bulk of 3 layers of fabric, I thought I should make sure that the seams stayed put, so catch-stitching seemed essential.
Bound buttonholes. Want to know how I did them? Check out this tutorial from Pattern Scissors Cloth. They're so easy to do when you know how.
 |
| Front of Buttonholes |
 |
| Back of Buttonholes |

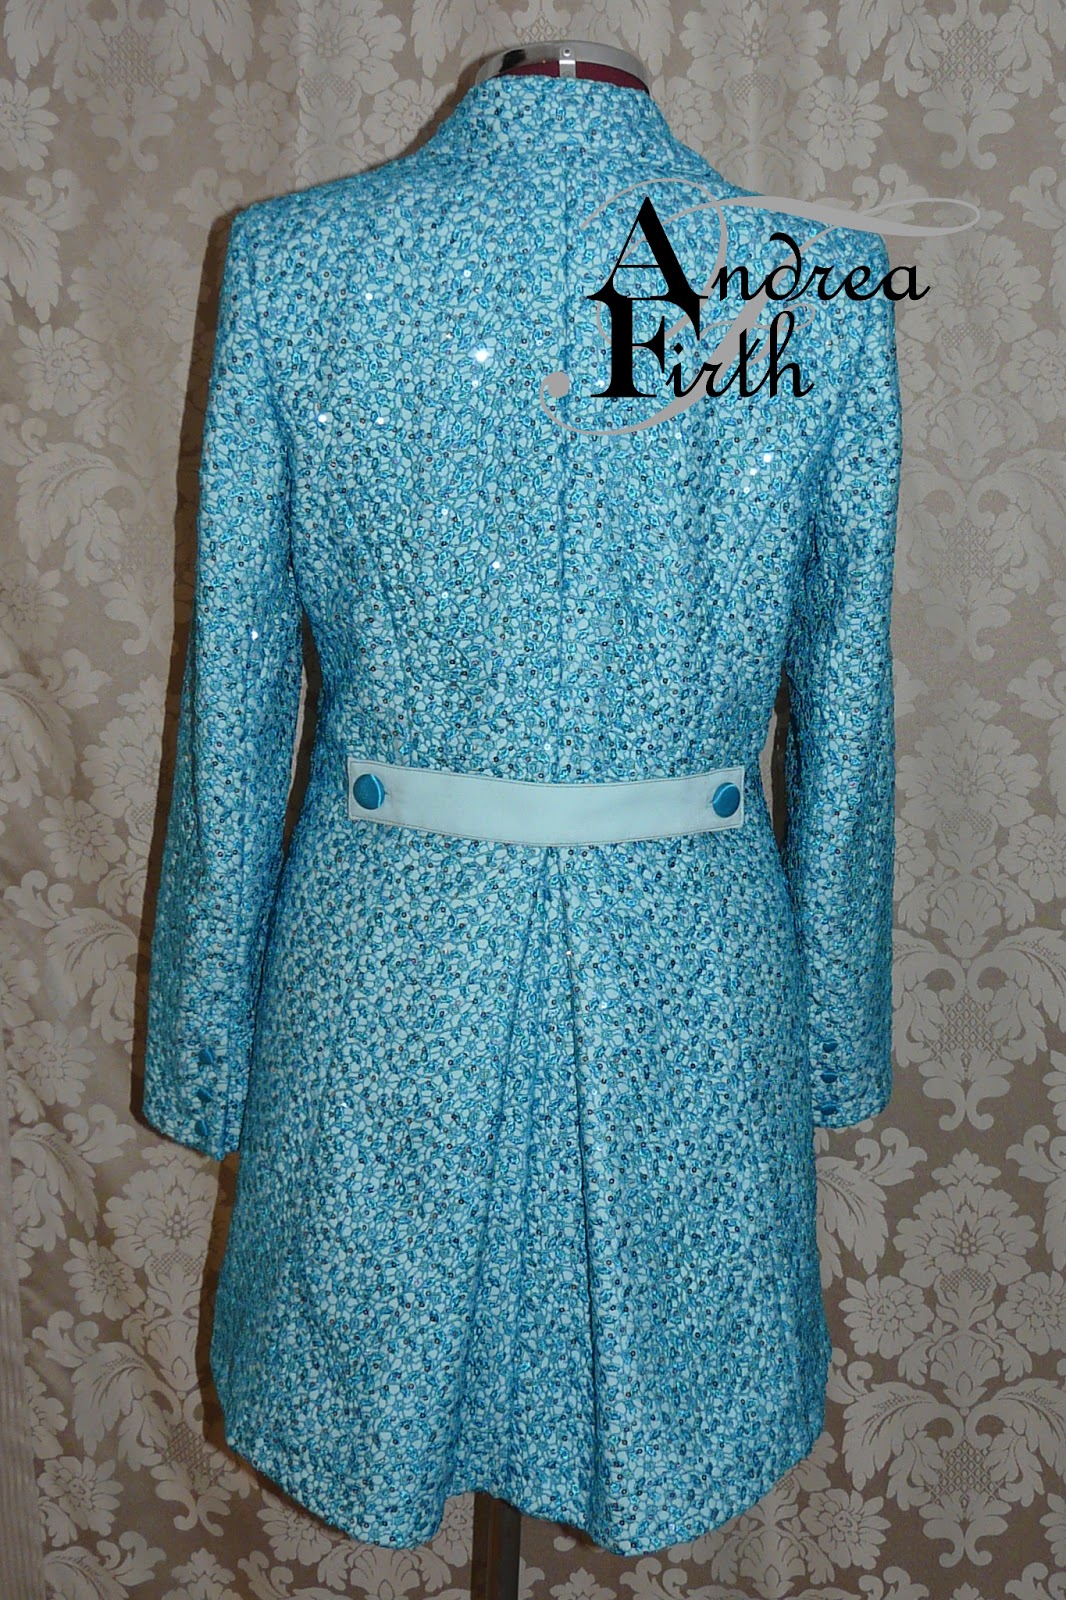
Roll line reinforcment - Taping on lapel and reinforced collar


(See if you can spot the problem with the collar!)
Hand made shoulder pads


Topstitching around front collar and edges

Hanging loop

All the fabrics I used to make this jacket are from my stash - main fabric, heavy calico for underlining, and the lace and lining (I'll count that as one piece of stash fabric), so that's 3 fabrics used up, and when I say used up, there almost wasn't enough fabric from lace or lining! The interfacing was also from my stash, as were the self cover buttons and thread. I literally did not have to leave my house to buy anything additional to make this jacket!
And for those who took a closer look at the collar, I accidentally cut the reinforcement pieces from the raw edge, and attached it above the seam line, so if you fold the collar down on the roll line, the result in the finished jacket is this:

For future reference, at least I know that the reinforcement on the roll line works. It only takes a bit of effort to fold the collar down where it should sit. If I was making this for anyone else I would have opened the jacket back up to fix this, but I was in a hurry to finish it off, so I'll just live with it like this.
I know you're dying to know how long this took to make, but I didn't keep track of my time on this, so I can only take an educated guess of around 40 hours. There is quite a lot of preparation and handsewing in this jacket.
It may not have turned out quite how I had originally thought, but I love this jacket and I'm looking forward to wearing it, it's going to keep me so warm for the rest of winter.
Andrea - did you just hear that really loud thunk? That was me hitting the floor over this drop-dead GORGEOUS piece of work. Really, it's just absolutely outstanding.
ReplyDeleteRock on,
Coco
Oh Coco, thank you so much for your comments, you are too kind!
DeleteAndrea
Wow! This is a show stopper of a coat! and definitely deserves to be worn, a lot!
ReplyDelete