After the success of my new bra pattern, I was keen to try another one based on this pattern block. and had this pattern ready within days of finishing my new lace bra.
The Bra
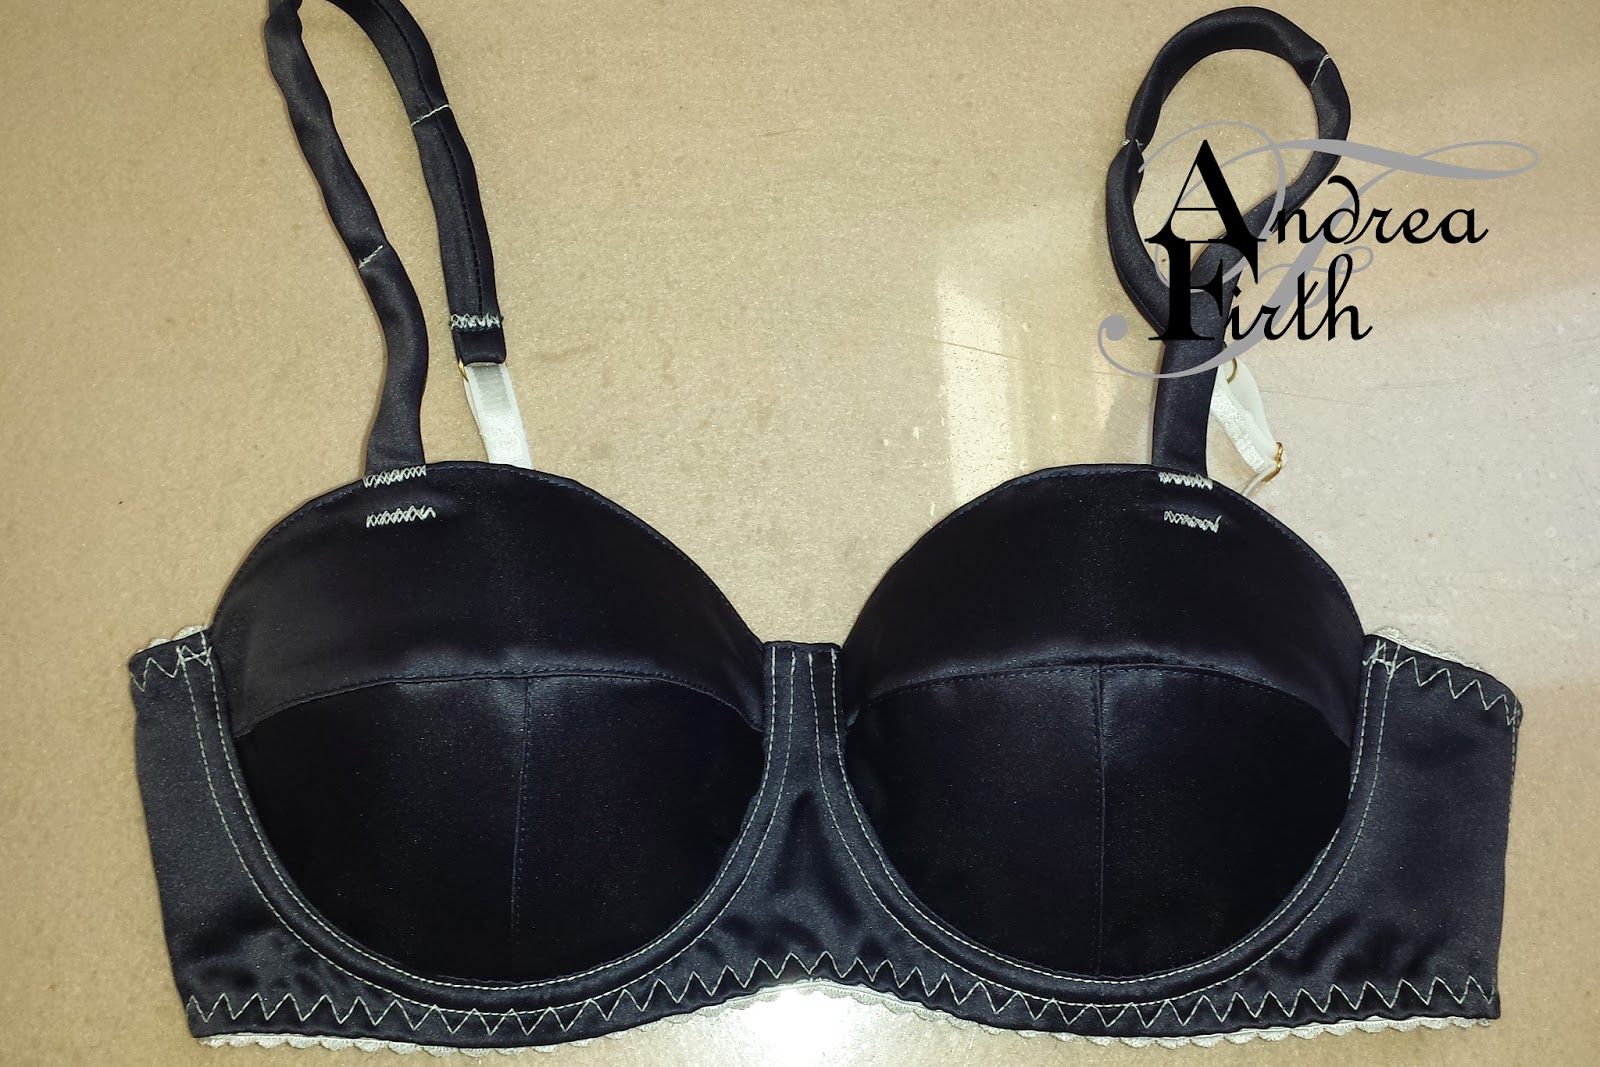
I made a few subtle alterations from the last bra. I made a slight adjustment to the Upper Cup before rounding the top, and added a vertical seam right at the centre of the lower cup, rounding the seams out just a little.
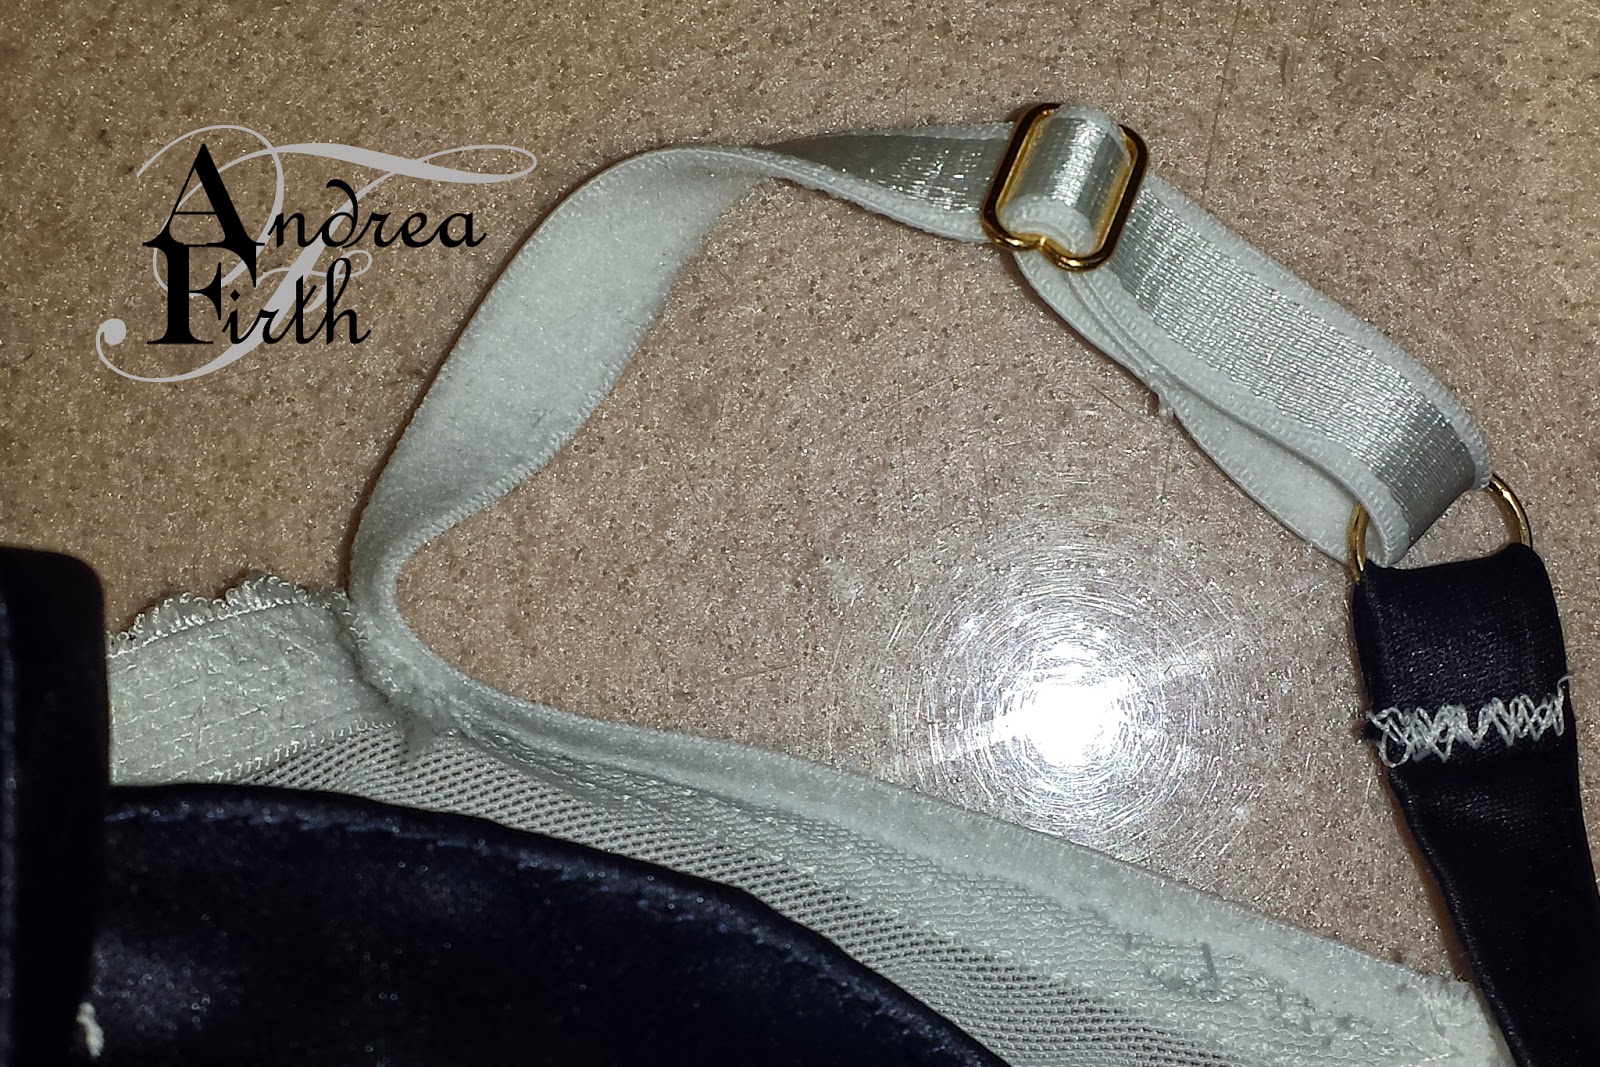
So I cut out a bias strip of my satin fabric, folded it in thirds and stitched it on, however, this is what happened.


Costing
Interfacing and satin - stash
$0.79 Bra Wadding
$0.11 Tricot
$0.22 Powernet
$0.66 Underwires
$0.84 Underwire casing
$0.56 Elastic
$0.64 Strap elastic
$0.73 Gold rings and sliders
$1.54 Back closure
$0.54 Thread (rough estimate)
Grand Total $6.62

The Fit
I'm pretty pleased with this bra, but using the bra wadding showed that there is a bit of extra room around the cross cup seam towards the centre front. I just need to take out a small sliver to fix this up next time. This may have been caused by the rounding out of the vertical seam, which would have added some extra volume towards the bottom of the cup, or maybe there was just more room to begin with. The lace bra that I tried this pattern with first would have just moulded to my shape, rather than the other way round.
Anyway, onwards and upwards! I haven't planned out my next bra yet, but I do have a few ideas in the works.
Awesome job love your bra and the two combo colors! BTW welcome to the bra making group :-)
ReplyDeleteIt looks so great! Seeing your bras makes me really want to start learning to make my own. I've been putting it off because it looks too "hard" but you make me think it's possible.
ReplyDelete